Solutions
Horse Construction offers full range of structural strengthening materials with technical supports, documentation supports, products supports, project supports.
Prestressed Carbon Plate Construction Process
Let's take a look at our recent bridge reinforcement and prestressed carbon plate construction process.
1. Positioning and laying out
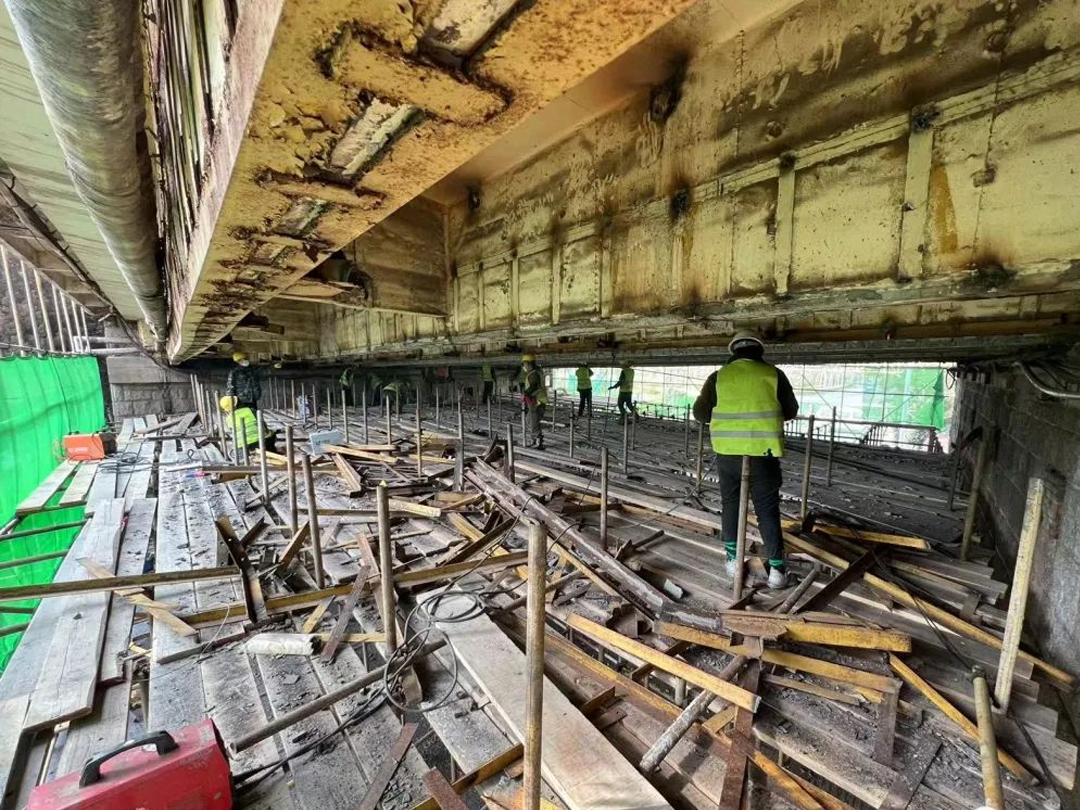
Accurately stake out the location of the mold in the field according to the drawing, and use the ink fountain to eject the line. It is recommended to pop out the center line of the beam first, and then measure the position of the mold from the center of the pier, taking into account the amount of elongation.
2. Drilling
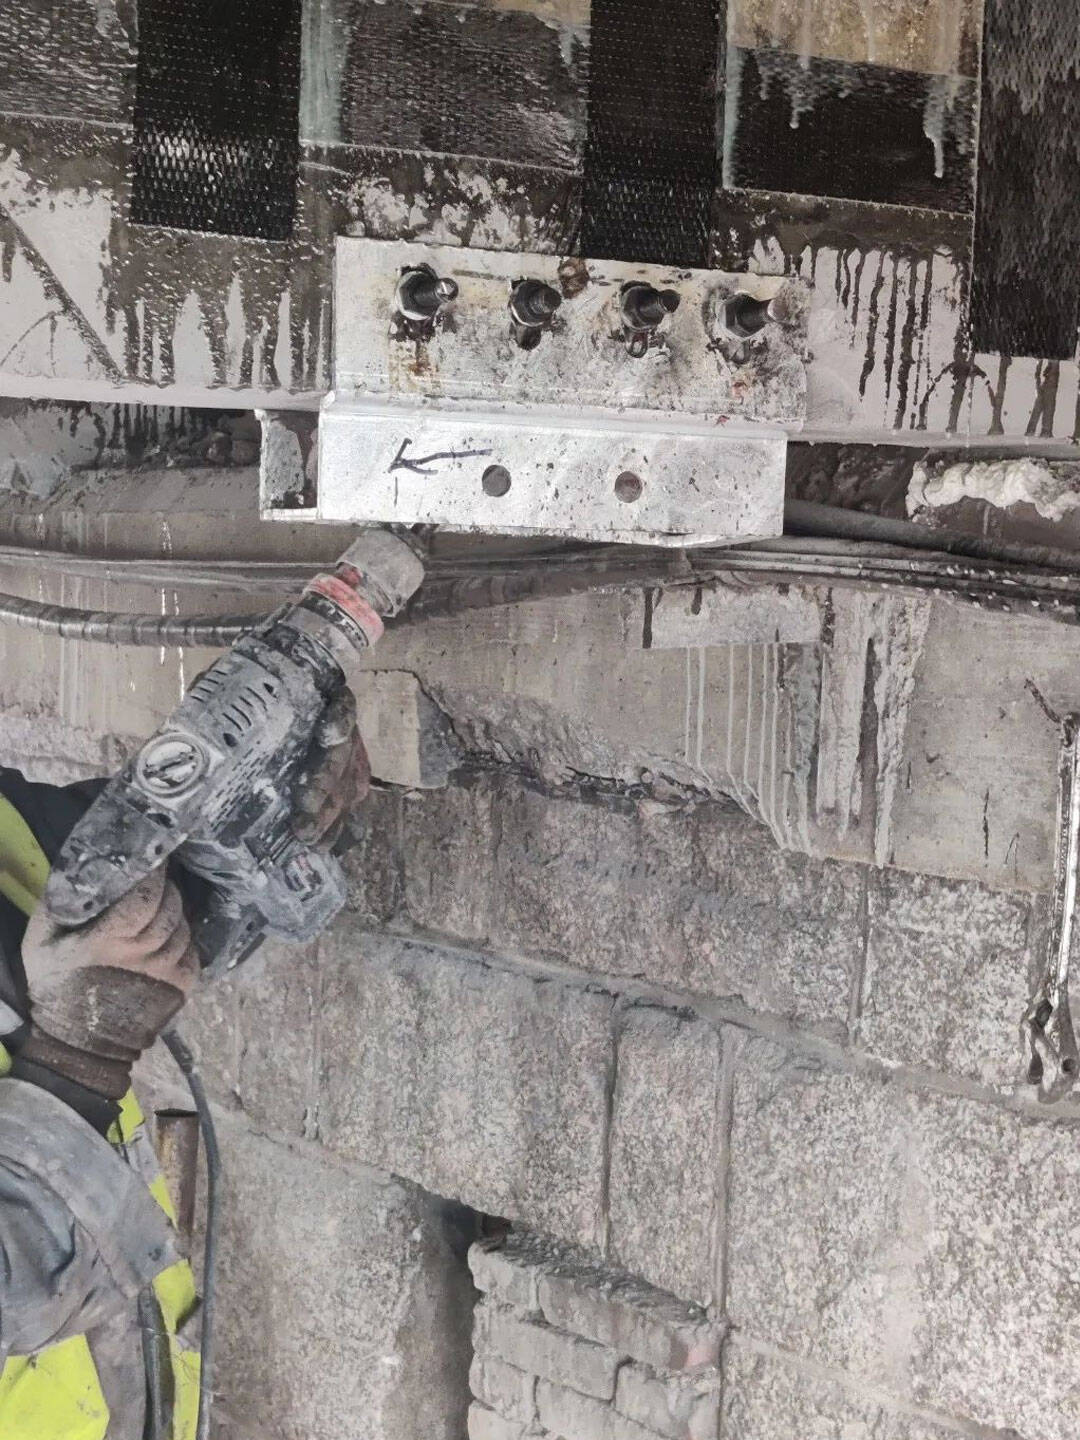
When there is a conflict between the drilled hole and the steel bar, adjust the hole position appropriately. When drilling, it should be vertical to the beam body, and the depth of the drilled hole should not be less than 250px, which is determined according to the thickness of the bottom of the plate.
3. Planting anchors
For planting high-strength bolts, it is recommended that the screw grade is above 10.9. The planting glue should be fully wrapped around the bolts, and then rotate clockwise and put them into the holes. Do not disturb during curing, and only tighten anchor bolts after curing.
4. Slotting
The depth is 2~75px, and the length is slightly longer than the limit frame of the fixed end and the tension end by 10~500px. After opening the groove, repair the inner surface to make it smooth.
5. Repair
After the groove is made, repair it with fast-setting material, and polish it to ensure that the surface is flat, so as to ensure a smoother installation of the anchor.
6. Install the limit frame
Install the limit frame {fixed and tensioned ends}, anchor blocks, high-strength screws, and nuts. 4, above level 8.
7. Install the anchor block
The bolt strength on the side of the anchor block at the fixed end is recommended to be grade 12.9 or above, the wedge-shaped holes at both ends of the anchor block are all facing inward, and the high-strength screw is recommended to use grade 10.9 or above.
8. Install the carbon fiber plate
The cutting length of the plate should be more than 5~250px at each end, and the anchor block of the tension end should be placed at the front end of the limit frame.
9. Install the jack
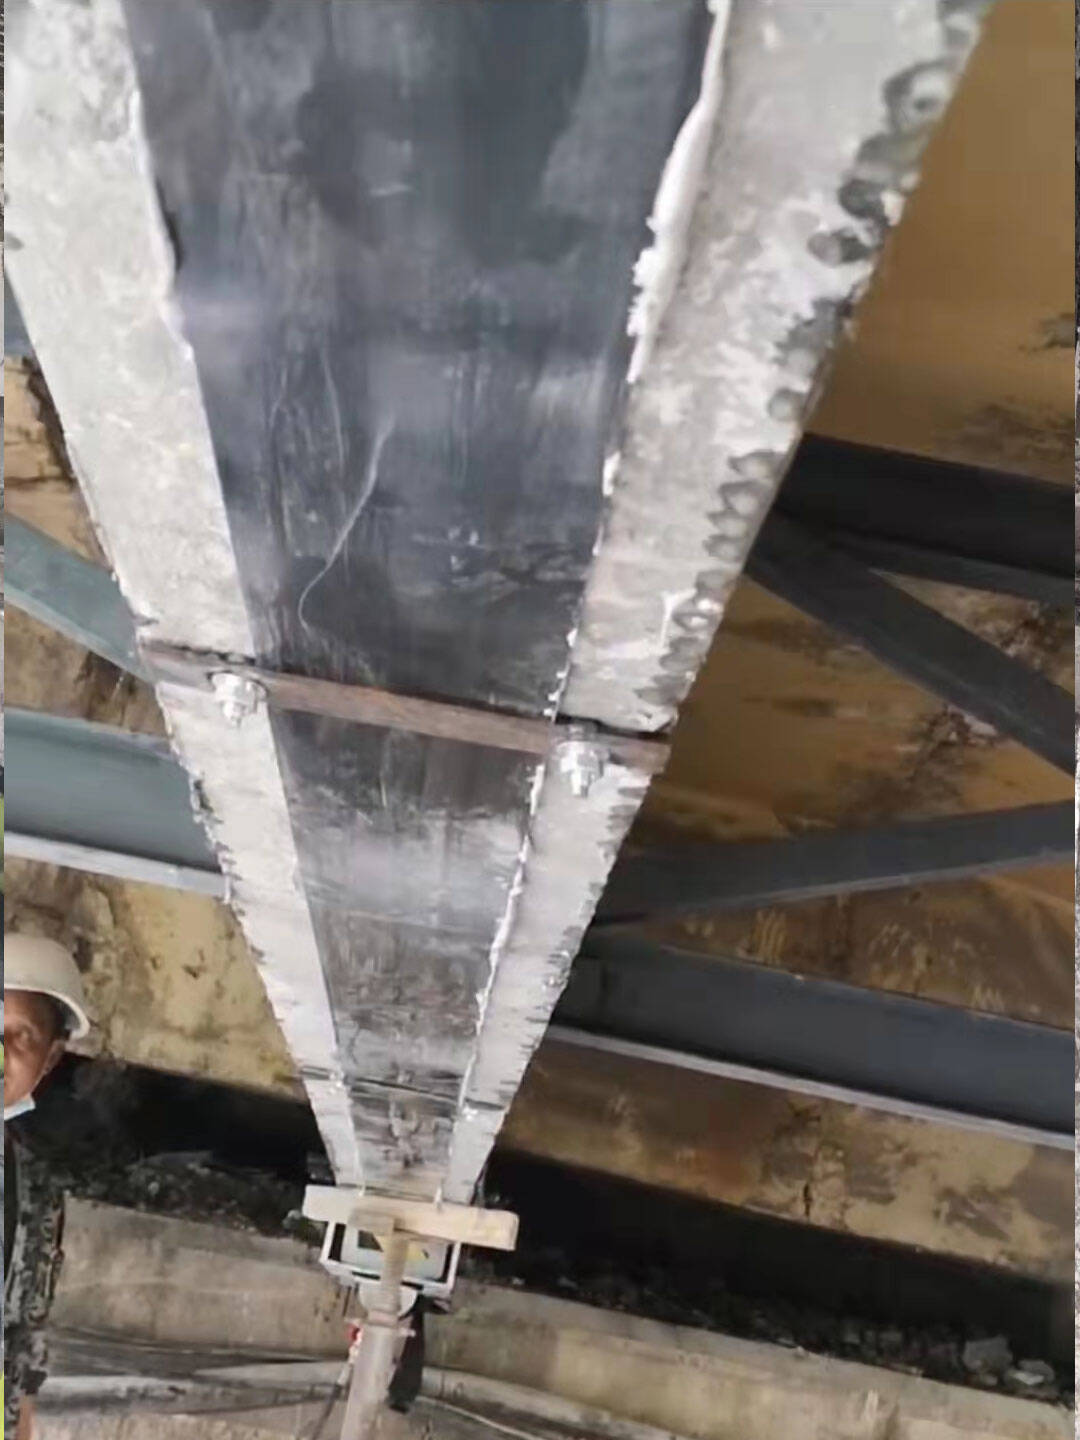
Set the hanging jack, install the stopper in front of the jack, 4 nuts, and adjust the jack until the jack is tight. The center line of the jack is aligned with the center line of the tie rod.
10. Coating carbon fiber plate glue
Use a spatula to coat one side to ensure even application.
11. Prestressed tension
Tension step by step, lower tension at intervals of 3 to 5 minutes, and fix the tension unit with screws, tighten the nuts symmetrically, hold the load for 5 minutes, unload, and remove the jack.
12. Carbon fiber plate pressurization
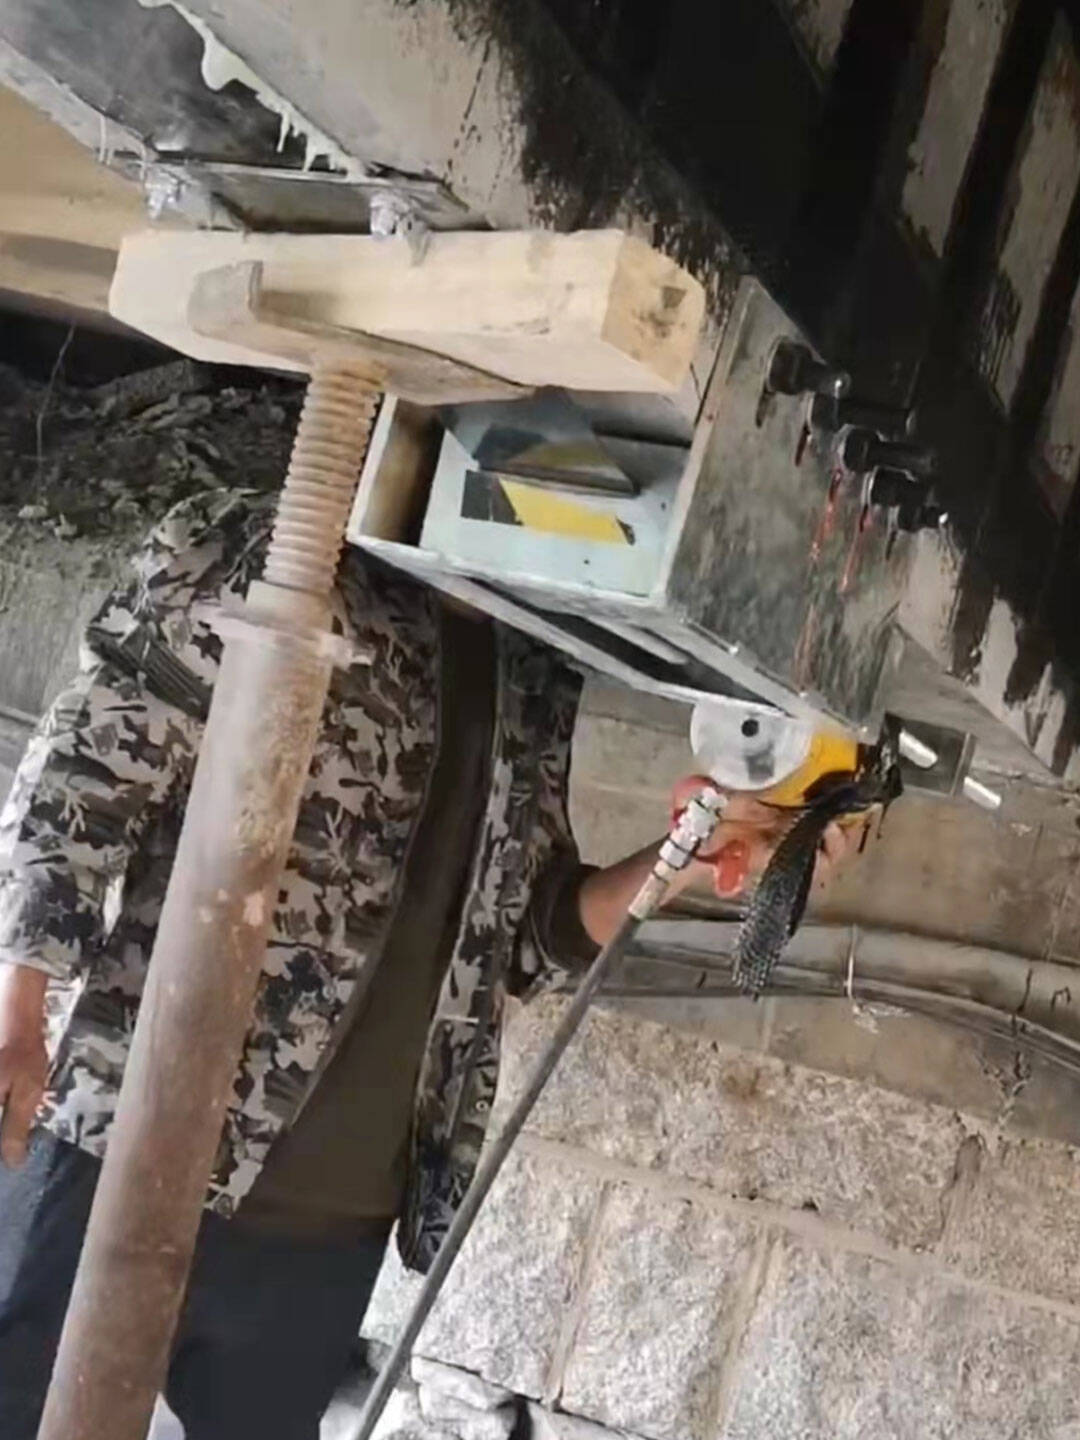
Install a pressure piece (fixed with expansion bolts) every 2 meters. Construction safety and precautions.
You can find anything here you are in need of, have a trust trying on these products, you will find the big difference after that.
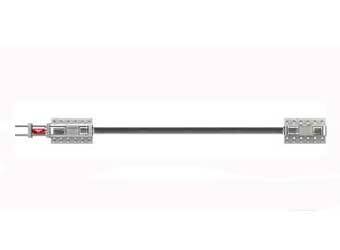
Prestressed carbon fiber reinforced polymer(CFRP) plate for slab, beam strengthening to increase stiffness, reduce distortion and deflection of members, reduce the cracks, avoid and stop cracking.

Prestressed carbon fiber reinforced polymer(CFRP) strip for slab, beam strengthening to increase stiffness, reduce distortion and deflection of members, reduce the cracks, avoid and stop cracking.
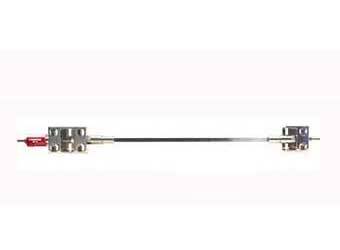
Prestressed carbon fiber reinforced polymer(CFRP) laminate for slab, beam strengthening to increase stiffness, reduce distortion and deflection of members, reduce the cracks, avoid and stop cracking.